

Get crafty and carefree with these Halloween-themed arts and crafts, suitable for all ages! Don’t worry if they turn out messy – it’s just about having fun.
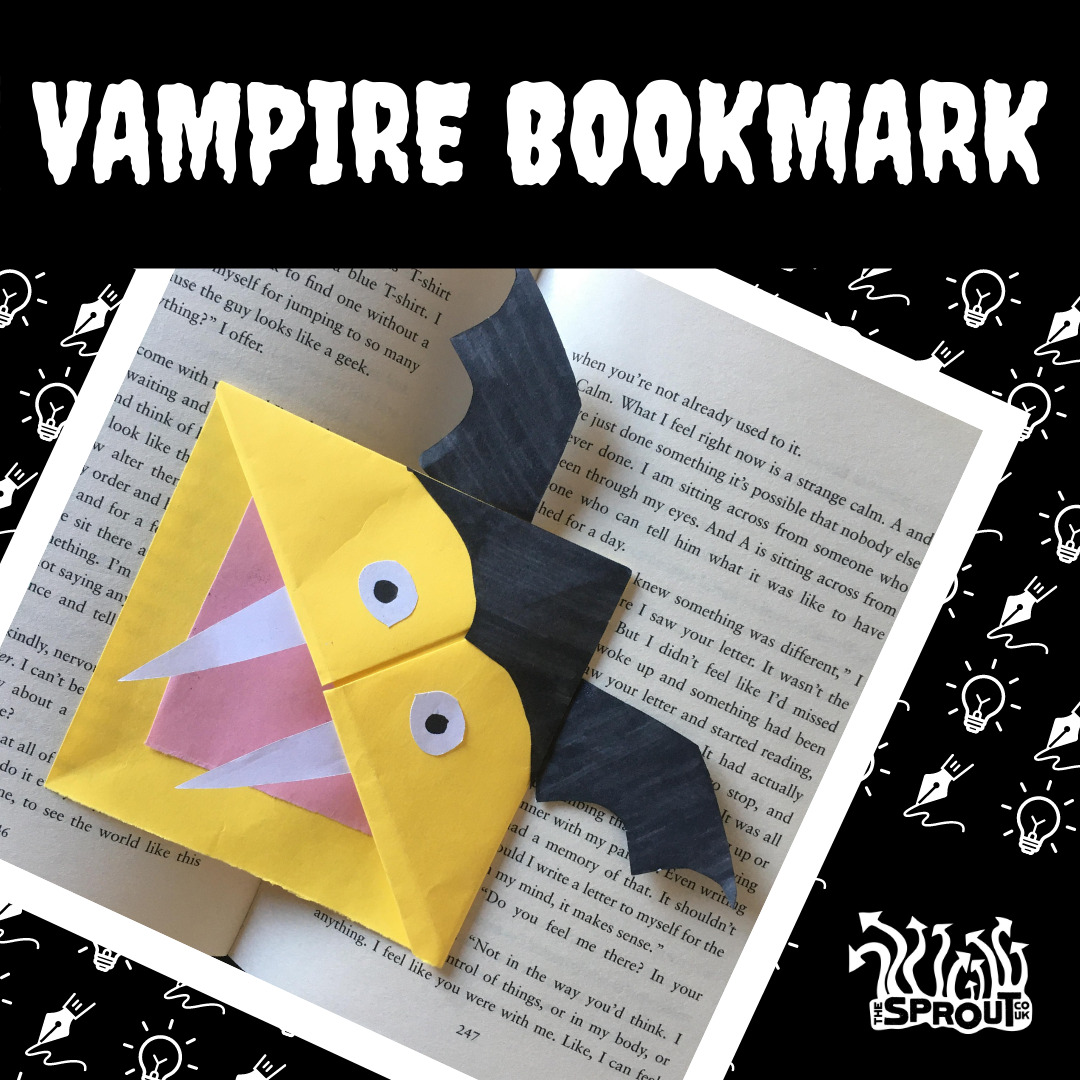
Vampire corner bookmark
Materials
- A square sheet of paper in vampire worthy colour (this will be the skin)
- Black paper
- White paper
- Red paper
- Scissors
- Glue
- Googly eyes (optional)
- Colouring pens
Method
- Fold the square paper in half to make a triangle.
- Fold one layer of the triangle down, so the tip of the triangle meets the centre bottom.
- Fold the left corner to the centre of the triangle. Do the same with the right corner. Unfold both.
- Fold both corners toward the top of the triangle, forming a diamond shape.
- Tuck these two flaps that you just folded up into the pocket.
- Use the black paper to cut our hair and bat wings and glue them onto the bookmark.
- Use the red paper to make the mouth of the vampire and stick it on with glue.
- Use the white paper to create the vampire fangs. Stick them on top of the red mouth.
- Attach the googly eyes or draw on the eyes.

Treat wreath
Materials
- A selection of your favourite sweets and chocolate in wrappers
- Cardboard
- A plate
- A mug
- Ribbon or string
- Pencil
- Scissors
- Glue
Method:
- Place the plate face down on a piece of cardboard and trace around the outside of it and cut it out.
- In the middle of the cardboard circle, trace around the mug and cut it out the centre circle to make a doughnut shape.
- Glue on the sweets in their wrappers in any way you’d like.
- Thread a piece of ribbon or string through the centre of the wreath so you can hang it up.
- After Halloween, you can take off the sweets and enjoy them!
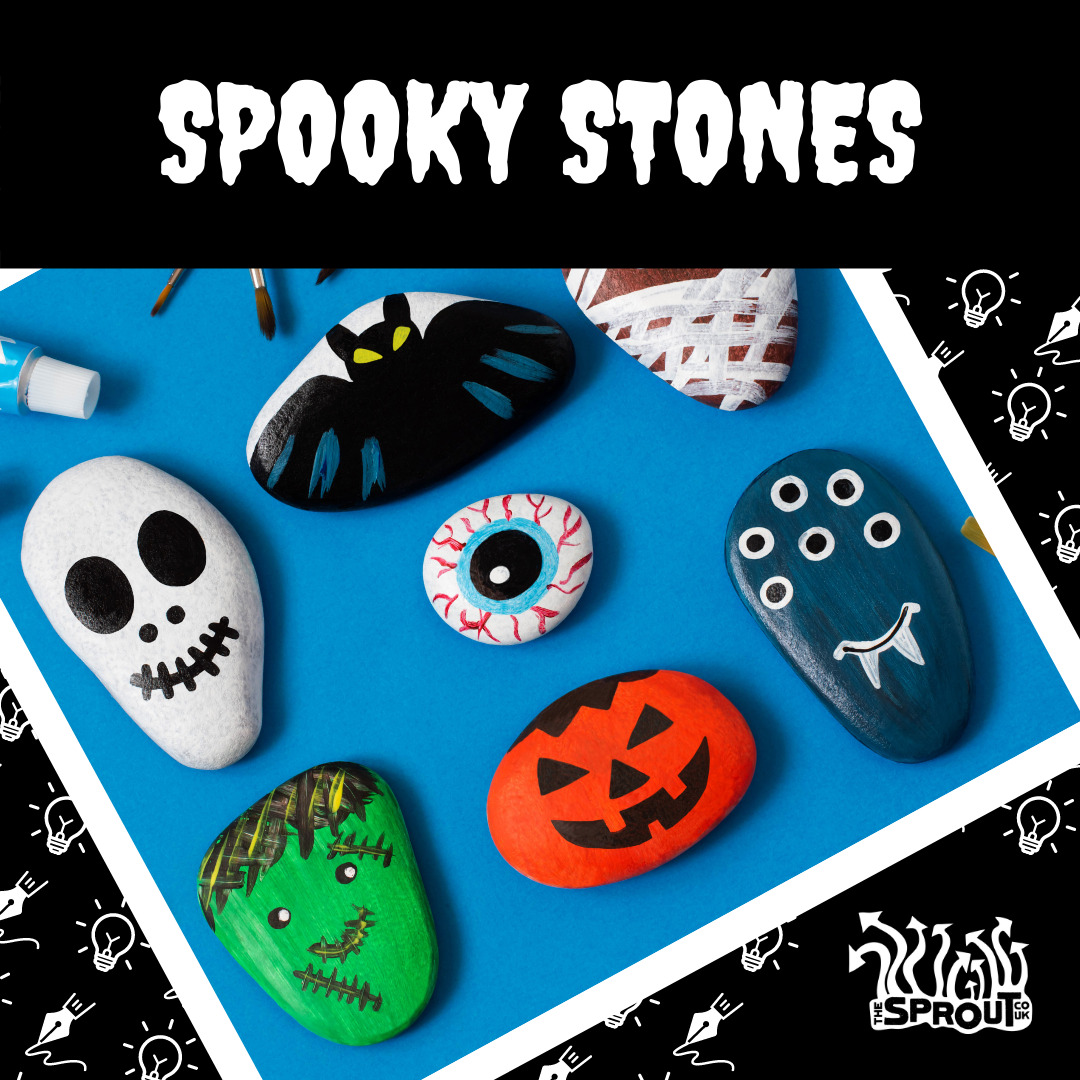
Spooky stones
Materials
- Stones
- Paint
- Paintbrush
Method
- Find a stone large enough to paint. We recommend one no larger than the palm of your hand but anything will do!
- Wash the stone if it’s been in the garden and dry it thoroughly.
- Decorate the stone with any spooky design, whether it’s an intricate scene or a face of one of your favourite scary characters.
Slime
Materials
- Bowl
- Craft glue
- Baking soda
- Contact lens solution
- Food colouring (optional)
- Glitter (optional)
Method
- Get a bowl and pour in the glue, food coloring and glitter (optional). Mix well.
- Add the baking soda, starting with a teaspoon and increasing if necessary. Mix well to eliminate lumps.
- Add the contact solution gradually whilst mixing the slime.
- Once most of the slime has formed a clump, use your hands to knead the slime until you achieve a consistency that you like.
- The slime will be ready when it no longer sticks to your hands. If the slime is still sticking to your hands after kneading, add more contact lens solution. If the slime is too rubbery, add more baking soda.
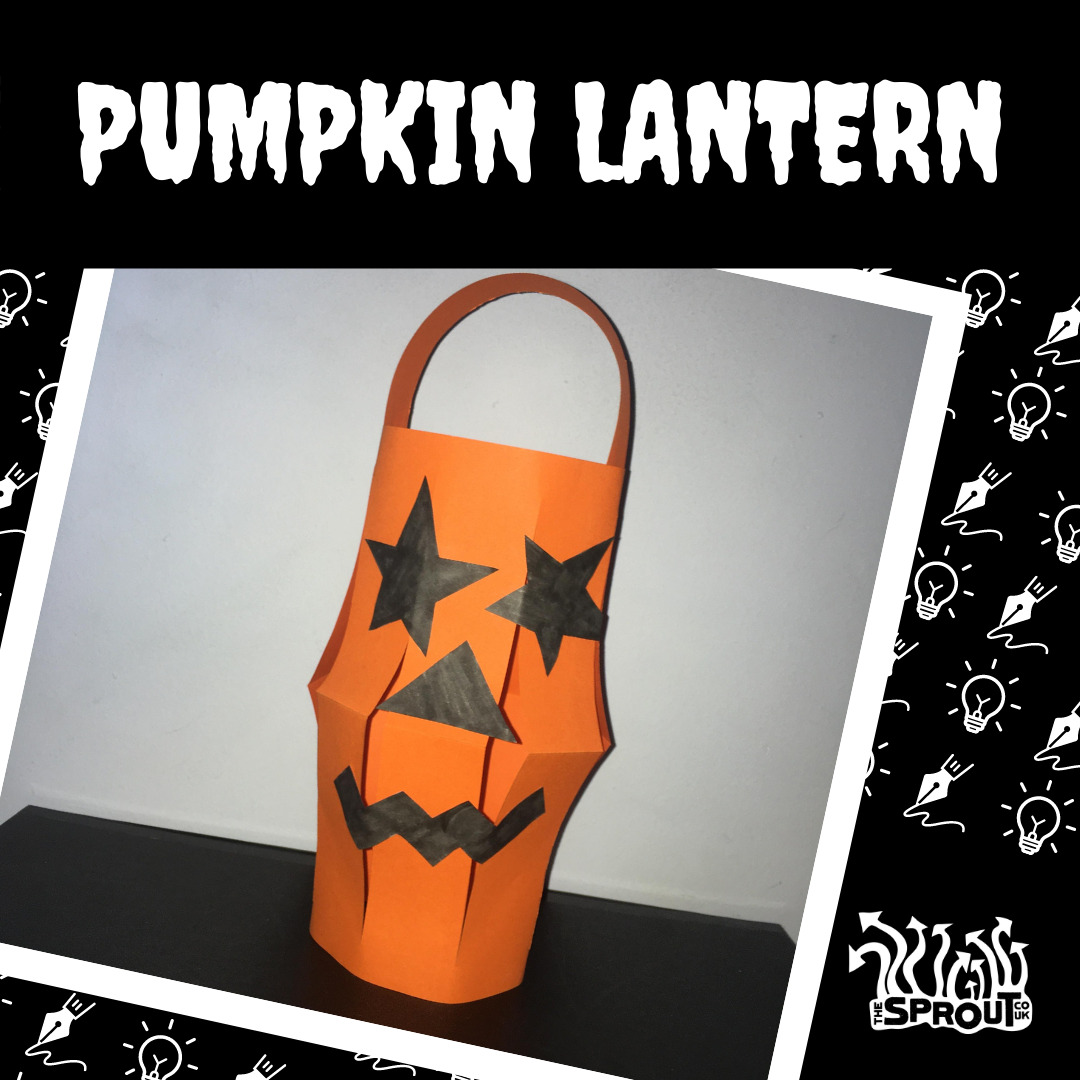
Pumpkin paper lanterns
Materials
- Coloured paper in orange and black
- Colouring pens
- Scissors
- Ruler
- Glue
- Stapler
- Battery operated tealight
Method
- To make the handle, fold the short side of the paper by about an inch and cut this off
- To make the lantern, fold the remaining piece of paper length ways.
- Whilst folded, use your ruler to draw lines about an inch apart starting from the folded edge. Make sure you leave about ½ inch free space.
- Starting at the folded edge, cut over the lines you’ve drawn. Don’t cut straight to the bottom Remember to leave the gap.
- Unfold the paper and create a cylinder shape by taking one side of the paper to the other. Staple the top and bottom of the lantern.
- Use coloured pencils or different coloured card to decorate your lantern.
- Add a handle to the lantern using a thin piece of paper and a stapler to attach to the top.
- Pop in the battery-operated tealight and switch it on when it gets dark.
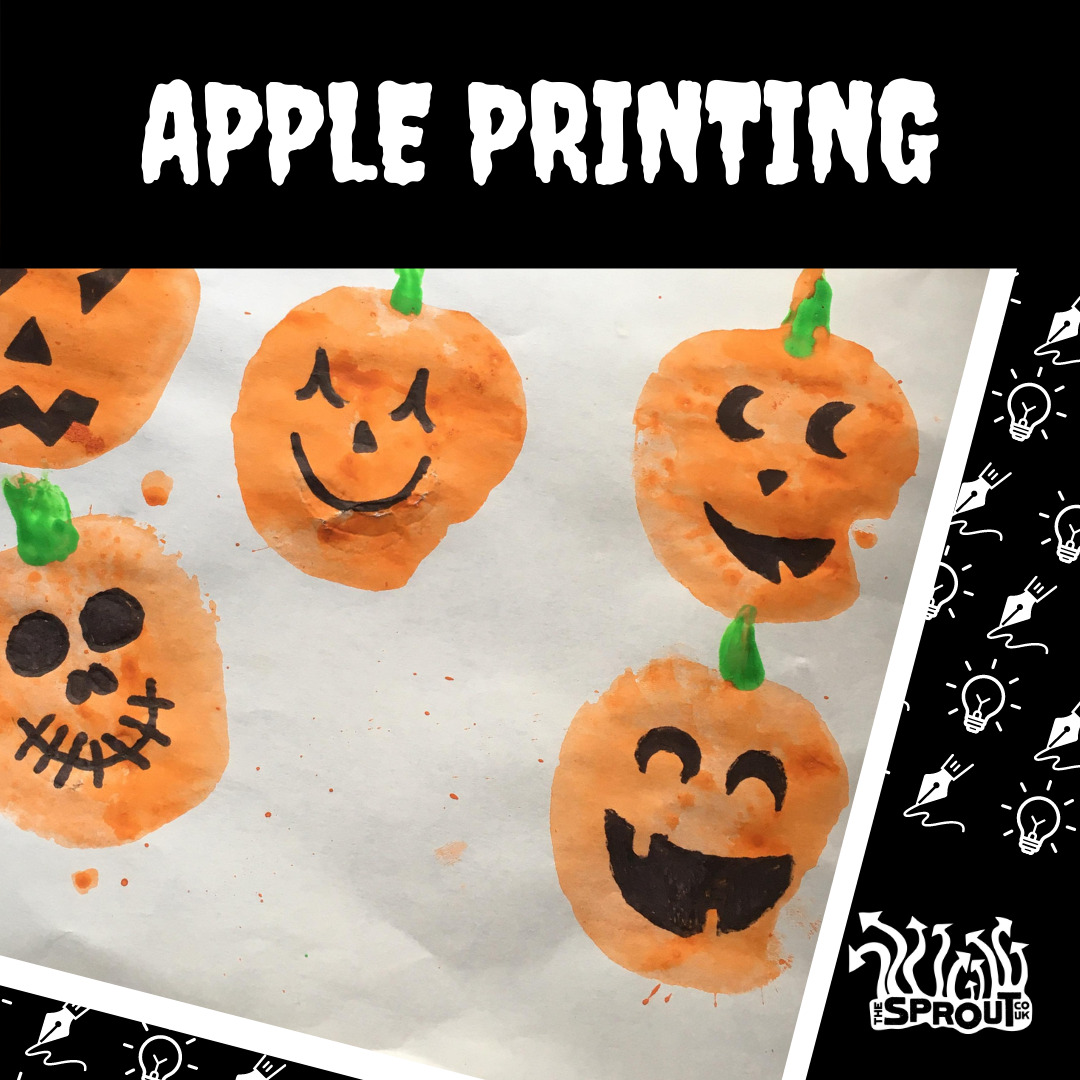
Apple Stamping
Materials
- White paper
- Orange paint
- Green paint
- Apple
- Knife
- Black marker
- Googly eyes (optional)
Method
- Cut the apple in half and dry both the inside and outside.
- Cover the inside half of the apple in orange paint and use it as a stamp to make a pumpkin shape on white paper.
- Use a paintbrush and green paint to add a stem and leaf to the pumpkin.
- Once dry, decorate the pumpkins with googly eyes and a black marker.
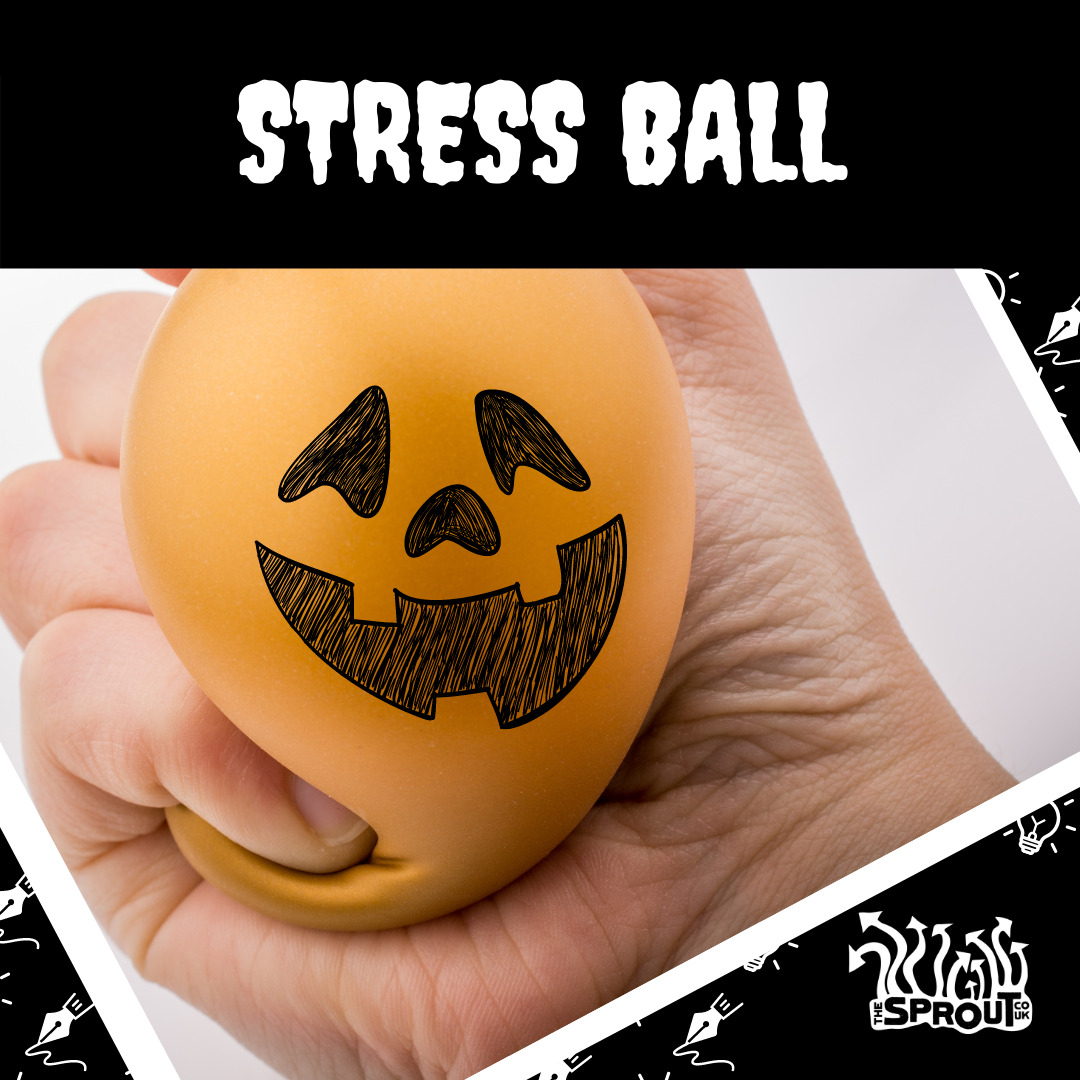
Pumpkin stress ball
Materials
- Orange balloon
- Plastic bottle
- Flour
- Green pipe cleaner or ribbon
- Black marker
Methods
- Pour some flour into an empty bottle, about the amount that you would want in your stress ball.
- Blow up an orange balloon, then pull the opening of the balloon over the neck of the bottle.
- Turn the bottle upside down and pour the flour into the balloon.
- Remove the balloon from the bottle and carefully let the air out until it is just flour left inside. Tie the top of the balloon in a tight knot.
- Wrap a green pipe cleaner or green piece of ribbon around the knot to create the stalk.
- Use a black marker pen to draw the pumpkin’s face onto the front of the balloon.
Related Information
This post was originally made for Halloween 2020.
Post a picture of your favourite make and tag us on Twitter, Twitter, Facebook or Instagram!